10 Unique and Heartfelt DIY Mother’s Day Gifts Under $10

10 Unique and Heartfelt DIY Mother’s Day Gifts Under $10
Personal touches for the person who touches our hearts.
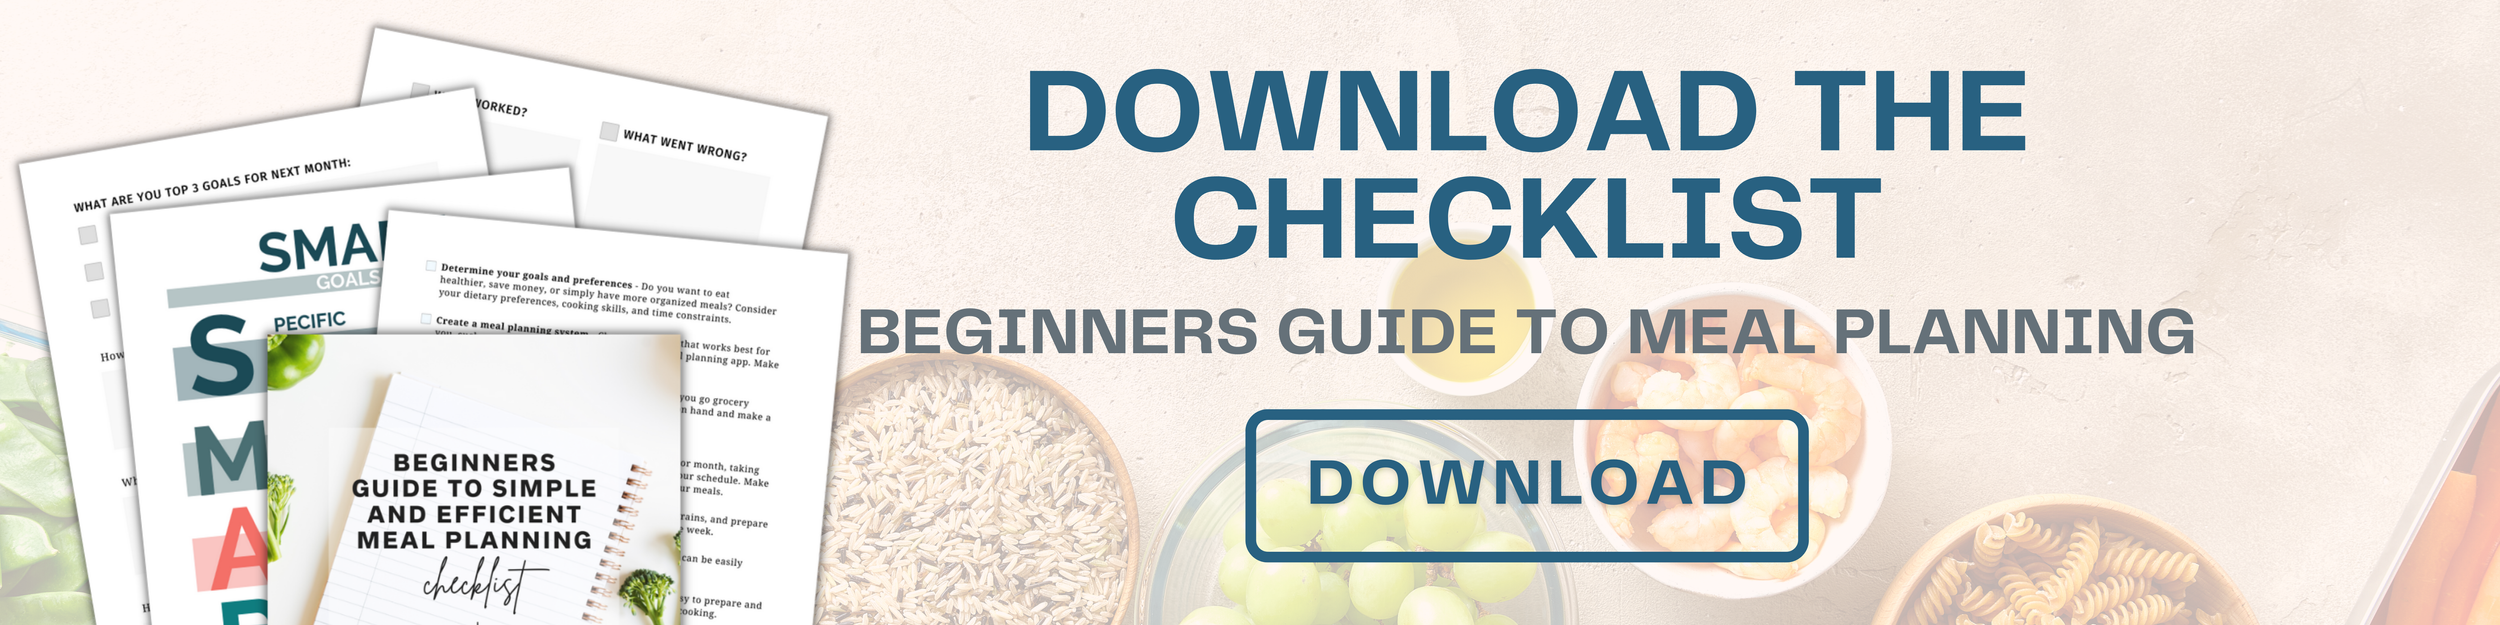
Use SMART goals to plan and start your meal planning with ease!
In this printable guide, you will receive:
Beginners guide checklist,
Monthly planning worksheets,
Weekly planning worksheets,
and more!
These steps are all covered in this comprehensive checklist!

* Disclaimer * Some of the posted links are affiliate programs. By clicking these links, I may receive monetary compensation. This will not alter the price or change the buyer's experience.
Remember that time you found an old, hand-painted card you made in kindergarten tucked away in Mom’s drawer? How it instantly brought a smile to your face and a surge of warmth to your heart, knowing she cherishes it just as much today, as the day she received it? That’s the power of a heartfelt, homemade gift. It’s not about the price tag; it’s about the love and thought poured into every creation. This is why we’re diving into the world of DIY Mother’s Day gifts that won’t break the bank.
In today’s fast-paced world, where commercial gifts often take center stage, we’re shifting the focus back to what truly matters – showing Mom our love and appreciation in a way that’s both meaningful and mindful of our wallets. This post is tailored for anyone looking to craft a memorable experience for Mom without the hefty expense. Whether you’re a seasoned DIY enthusiast or new to the crafty world, these ideas are designed to inspire and guide you.
In this post, we’ll explore 10 unique DIY Mother’s Day gifts you can create for under $10. From homemade gifts for Moms that resonate with personal charm to simple DIY gifts that speak volumes of your care, we’re here to show you how budget-friendly presents can be incredibly impactful. Let’s embark on this creative journey together, transforming simple materials into priceless treasures for the most important woman in our lives.

The Ultimate Beginners Guide to Meal Planning Checklist
Use SMART Goals to plan and start your meal planning with ease!
10 Unique and Heartfelt DIY Mother’s Day Gifts Under $10
Crafting a DIY gift for Mother’s Day isn’t just about saving money—it’s about creating something with a personal touch that speaks volumes of your love and appreciation. In a world where everything can be bought, a handmade gift stands out as a testament to thoughtfulness and effort. These ideas are designed to spark your creativity and show Mom just how much she means to you.
Below are 10 unique DIY gift ideas that are not only budget-friendly but are also simple to create. Each one comes with a step-by-step guide, ensuring you can easily bring your token of love to life.
Homemade Bath Bombs:
Mix simple ingredients to create relaxing bath bombs.
Homemade bath bombs are not just a gift; they’re an experience. Each fizzing orb is a ticket to relaxation, infusing bath time with soothing aromas and skin-nourishing oils. Crafting these bath bombs yourself allows you to tailor ingredients to your mom’s preferences, whether she’s a fan of lavender calmness or citrusy zest. This project is perfect for beginners; no advanced crafting skills are needed, just a willingness to mix ingredients and a touch of creativity.
Supplies Needed:
Baking soda
Citric acid
Epsom salt
Essential oils (choose Mom’s favorite scents)
Carrier oil (like coconut or almond oil)
Food coloring (optional)
Water or witch hazel in a spray bottle
Bath bomb molds or muffin tins
Instructions:
Combine 1 cup of baking soda, 1/2 cup of citric acid, and 1/2 cup of Epsom salt in a bowl.
In a separate container, mix 1 tsp of carrier oil, about 20-30 drops of essential oils, and a few drops of food coloring.
Slowly add the liquid mixture to the dry ingredients, stirring constantly to prevent the mixture from fizzing.
Spritz the mixture with water or witch hazel as needed to get a consistency where it holds together when squeezed.
Press the mixture firmly into the molds. Let them dry for at least 24 hours before gently removing them from the molds.
Presentation Tips:
Present the bath bombs in a beautiful box or jar, layering in tissue paper for cushioning. You could pair the bath bombs with a handmade card or a small bottle of bubble bath. Another charming touch is to include a personalized note, perhaps suggesting a pampering bath routine or explaining the choice of scents used in the bath bombs, adding a thoughtful narrative to your gift.

Personalized Tote Bag:
Use fabric paint or markers to design a unique tote.
A personalized tote bag combines utility with sentimentality, offering Mom a daily reminder of your care and creativity. It’s a versatile gift, perfect for grocery shopping, carrying books, or just as a stylish accessory. The beauty of this DIY project is its simplicity and the vast room for personalization. You don’t need to be an artist to create something beautiful and meaningful; basic drawing skills are sufficient, as the charm lies in the thought and effort.
Supplies Needed:
A plain tote bag (preferably cotton or canvas for easy painting)
Fabric paints or markers
Stencils (if desired for specific designs)
Painter’s tape (to create clean lines or patterns)
A piece of cardboard (to insert inside the bag to prevent bleeding)
Instructions:
Plan your design ahead of time. You could sketch it on paper or directly onto the bag with a pencil.
Insert the cardboard inside the tote to prevent any paint from seeping through to the other side.
If you’re using stencils, position them on the bag and secure them with painter’s tape. If you’re free-handing, you can start painting or drawing directly.
Apply the fabric paint or markers to your design, letting each color dry before adding adjacent colors to prevent bleeding.
Once the design is complete, follow the fabric paint’s instructions for setting the paint, which may include ironing the design (with a cloth over it) or allowing it to cure for a specific time.
Presentation Tips:
To present the tote bag, consider filling it with a few small, themed items that Mom loves. For example, if she’s a book lover, include a new book or a gift card to her favorite bookstore. If she enjoys gardening, fill the tote with seed packets and gardening gloves. The idea is to enhance the personal value of the bag, showing that it’s not just a gift but a thoughtful gesture tailored to her interests.
Recipe Book:
Compile family recipes in a beautifully decorated notebook.
A homemade recipe book is not just a collection of culinary instructions; it’s a treasure trove of family history and love, passed down through generations. This gift is a wonderful way to honor family traditions and create new ones, providing a tangible connection to cherished memories and shared meals. The process of compiling and decorating a recipe book requires thoughtfulness and a bit of creativity but doesn’t necessitate advanced crafting skills. It’s about capturing the essence of family and the joy of cooking in a personalized keepsake.
Supplies Needed:
A blank notebook or journal (preferably with durable paper)
Pens and markers
Decorative items (stickers, washi tape, photographs)
Glue or double-sided tape
Optional: Printed recipes or recipe cards
Instructions:
Begin by organizing your recipes. Decide if you want to categorize them (e.g., appetizers, main courses, desserts) or arrange them in another meaningful way.
Personalize each page with the recipe details. You can handwrite the recipes for a personal touch or print them out and affix them to the pages.
Decorate the pages with your decorative items. Include family photos, anecdotes, or cooking tips alongside the recipes to add a personal narrative and visual interest.
Ensure each page is clear and readable, with enough space for notes or adjustments that Mom might want to add.
Presentation Tips:
When presenting the recipe book, consider pairing it with a small culinary gift, like a set of spices, a personalized apron, or a cooking utensil she’s been wanting. You could also include a note suggesting a cooking day together to try out one of the recipes, turning the gift into an experience and an opportunity to create more memories. The key is to show that the recipe book is more than just instructions—it’s an invitation to share and create joy in the kitchen.
Origami Bouquet
Craft a beautiful handmade bouquet that will never age or fade.
An origami bouquet offers a timeless and creative twist on traditional flowers, bringing beauty and artistry into your mother’s home without the worry of wilting. This gift is a symbol of care and patience, as each fold you make is a testament to your dedication. Origami can be meditative and offers a wonderful way to showcase your crafting skills, whether you’re a novice or experienced. The bouquet becomes a lasting keepsake, a daily reminder of your love and thoughtfulness.

Supplies Needed:
A variety of colorful origami paper
Floral wire or skewers for stems
Floral tape
Scissors
Optional: Ribbons, beads, or buttons for embellishment
Instructions:
Choose a few simple origami flower designs to start with, ensuring a mix of colors and shapes for variety in your bouquet.
Carefully fold each flower according to the instructions, striving for precision to make each one as beautiful as possible.
Once the flowers are folded, attach them to the floral wire or skewers using a bit of floral tape at the base, securing them firmly.
Arrange your origami flowers into a bouquet, adjusting the stems to varying lengths for a natural look, and wrap the base with more floral tape to hold everything together.
Presentation Tips:
Present your origami bouquet in a lovely vase or wrap the stems in a decorative ribbon for a finished look. Consider pairing the bouquet with a handwritten card or a small, personalized gift that complements the theme, like a handmade photo frame or a set of decorative paper for her own origami creations. The bouquet could also be part of a larger gift, perhaps accompanying a book on origami or a set of high-quality papers, inviting her to explore the art herself.
Personalized Stationery:
Design stationery with monograms or unique art.
Personalized stationery is a thoughtful and elegant gift, offering a unique touch to your mom’s correspondence. Whether she’s penning a thank-you note, a letter to a friend, or jotting down her thoughts, having stationery that reflects her personality adds a special charm. This gift requires a touch of creativity and an eye for design, but you don’t need to be a professional artist to create something beautiful and meaningful. It’s about crafting a set of stationery that resonates with her style and preferences.
Supplies Needed:
High-quality paper or blank stationery sets
Stamps or stencils (for monograms or designs)
Ink pads or acrylic paints
Fine pens or markers
Embellishments like stickers, washi tape, or ribbon
Envelopes to match the stationery
Instructions:
Decide on the design or theme for the stationery. This could be a monogram, a simple floral design, or any motif that suits her personality.
If using stamps or stencils, carefully apply the design to each sheet of paper. If you’re drawing or painting, do so with a steady hand and allow each piece to dry thoroughly.
Add any additional embellishments to personalize the stationery further, ensuring each piece is uniform to create a cohesive set.
If you’re creating a monogram, you can use a computer to design it and print it onto the stationery for a more professional look.
Presentation Tips:
Package the stationery set in a beautiful box or tie it together with a ribbon for a lovely presentation. You could include a matching pen, a book of stamps, or a wax seal kit to complement the gift. Another thoughtful addition might be a set of high-quality writing instruments or a personalized address stamp. Presenting the stationery with a handwritten note on the first sheet or an example of how the stationery can be used adds a personal touch that demonstrates the thought you’ve put into this unique gift.
Herb Garden Kit:
Assemble a kit for growing her favorite herbs indoors.
An indoor herb garden kit is a perfect gift for moms who love cooking or gardening, offering them fresh herbs year-round, right from the comfort of their kitchen. It’s a gift that keeps on giving, providing both a relaxing hobby and a practical resource for culinary creations. Assembling this kit requires minimal gardening skills, making it a suitable project for beginners. The joy of this gift lies in its simplicity and the ongoing experience it provides, allowing your mom to nurture and grow her herbs, adding a touch of nature to her home.
Supplies Needed:
Small pots or containers (biodegradable ones are great for starting seeds)
Herb seeds (choose her favorite varieties like basil, parsley, cilantro, or mint)
Potting soil
Labels or markers to identify the herbs
Instruction booklet or care guide
Optional: gardening gloves, a small watering can, or plant markers
Instructions:
Select a variety of herb seeds that your mom would love to grow. Consider her cooking preferences or the aesthetics of the plants.
Prepare the pots or containers by filling them with potting soil, following the seeding instructions specific to each herb.
Place the seeds in their designated pots. You can include a simple instruction guide for each herb, detailing sunlight needs, watering schedules, and growth expectations.
Label each pot or use plant markers so she’ll know which herb is which as they grow.
Presentation Tips:
Arrange the pots in a beautiful tray or basket for a visually appealing presentation. You could pair the herb garden kit with a set of small gardening tools, a kitchen herb cookbook, or a stylish apron to enhance the gift. Consider including a personal note with suggestions on how to use each herb in cooking or a favorite recipe that incorporates fresh herbs. This thoughtful approach turns the kit into not just a gift but an invitation to explore and enjoy the flavors and fragrances of fresh herbs.

Memory Jar:
Fill a jar with notes of favorite memories or reasons you’re grateful for her.
A memory jar is a heartfelt and personalized gift that captures cherished moments and expresses gratitude. It’s a way for your mom to relive joyous memories, one note at a time. This gift is about thoughtfulness and reflection, requiring more emotional investment than technical skill. Each note is a testament to the special moments you’ve shared, making the jar a treasure trove of love and appreciation that she can reach for any time she needs a smile or a reminder of her family’s love.
Supplies Needed:
A large, clear jar with a lid
Colored paper or cardstock
Pens or fine markers
Ribbon or twine for decoration
Optional: embellishments like stickers, photos, or fabric to personalize the jar
Instructions:
Cut the colored paper or cardstock into small, uniform pieces, large enough to write a sentence or two but small enough to fold and fit many into the jar.
Write down your memories or reasons you’re grateful for your mom on each piece of paper. These can range from simple moments of joy to significant milestones.
Fold each piece of paper and place it in the jar. Continue until you’ve filled the jar with a generous number of notes, ensuring there’s a mix of memories and expressions of gratitude.
Presentation Tips:
Decorate the jar with a ribbon or twine, possibly adding a label or a tag that explains the concept of the memory jar. You could pair the jar with a cozy blanket or a favorite book of hers, suggesting a perfect setting for her to delve into her jar of memories. Alternatively, include a small notebook and pen with the jar, inviting her to jot down new memories or thoughts as they come, adding to the collection over time. This gesture turns the gift into an evolving keepsake, deepening its sentimental value over time.
Family History Book:
Compile a small book tracing your family’s history or a collection of family stories and anecdotes.
A family history book is a meaningful keepsake that celebrates the lineage and stories that have shaped your family. It’s a gift that not only honors the past but also serves as a cherished heirloom for future generations. Creating this book requires a mix of research, storytelling, and a bit of creativity in design. It’s an opportunity to delve into your family’s history, uncovering stories and memories that perhaps even your mom hasn’t heard before.
Supplies Needed:
A high-quality, blank journal or a binder with printable pages
Access to family photos, documents, and records
Pens, markers, or a printer for text
Photo-safe adhesive or photo corners for attaching pictures
Decorative items to embellish the pages (optional)
Instructions:
Start by gathering information, interviewing family members, and collecting photographs and documents. Organize the content chronologically or by family branches, depending on what makes the most sense for your family’s story.
Begin compiling the stories, anecdotes, and data into the book. Use the journal or binder pages to layout text and images. If you’re artistically inclined, you can handwrite the stories; otherwise, a clean, readable printout can be equally elegant.
Attach photos and documents using photo-safe adhesive or corners. Be sure to label them with names, dates, and places to provide context for future generations.
Presentation Tips:
Personalize the cover of the book with your mom’s name or the family surname, possibly including a special family photo or emblem. Consider accompanying the book with a family tree chart or a digital version of the book on a USB drive. You could also include a note encouraging your mom to add her own stories or insights, making the family history book a living document that continues to grow and evolve.
Storybook of Life:
Write and illustrate a short storybook recounting a favorite family memory or a fictional story with your mom as the protagonist.
Creating a Storybook of Life for your mom is a deeply personal and creative gift that transforms cherished memories or imaginative tales into a tangible keepsake. This project combines storytelling with artistry, allowing you to express your affection and admiration in a unique and enduring format. Whether you’re a seasoned writer or artist or just dabbling in these crafts for the first time, the emotional value and personalized touch of this book will make it a priceless gift.
Supplies Needed:
Blank book or high-quality paper if you’re assembling the book yourself
Writing tools (pens, pencils, computer for typing out the story)
Art supplies for illustrations (watercolors, colored pencils, markers)
Glue or double-sided tape for assembling the book if necessary
Instructions:
Choose a family memory or create a fictional story with your mom as the main character. Outline the narrative to ensure a coherent flow of events or themes.
Write the story, keeping the language and tone appropriate to the story’s mood and accessible for all ages, especially if it’s a family keepsake intended for various generations.
Illustrate the story. Your illustrations can be as simple or elaborate as you like. They can be abstract representations of the story’s emotions or more literal depictions of its events.
Assemble the book. If you’re creating it from scratch, ensure the pages are securely bound, and the layout allows for easy reading and viewing of the illustrations.
Presentation Tips:
When presenting the Storybook of Life, consider creating a special reading moment where you share the book with your mom and other family members. You could also pair the book with a related gift, like a framed illustration from the story or a custom bookmark. If the story is based on a family memory, including a photo or memento from that time as an accompaniment can add an extra layer of nostalgia and meaning.
DIY Terrarium Kit:
Assemble a terrarium kit with all the necessary components and a guide on how to create and care for it.
A DIY terrarium kit is a delightful gift that combines the beauty of nature with the joy of crafting. It’s perfect for moms who enjoy gardening, interior decorating, or simply trying new creative projects. Assembling this kit requires a bit of research and gathering of materials, but no advanced skills are necessary. The beauty of this gift lies in its ability to offer a relaxing, engaging activity that results in a lovely piece of living decor. Plus, it’s a gift that keeps on giving, as the terrarium will grow and evolve over time.
Supplies Needed:
A clear glass container or jar
Small pebbles or gravel for drainage
Activated charcoal (to keep the water fresh)
Potting soil appropriate for terrarium plants
A selection of small, low-maintenance plants suitable for terrariums (like succulents or air plants)
Decorative elements like moss, rocks, or figurines
Tools for assembly (like a long spoon or tweezers)
Instruction booklet or card with steps on how to assemble and care for the terrarium
Instructions for Creating the Kit:
Choose a glass container or jar that’s large enough to house the plants and soil but small enough to be conveniently placed in a home or office.
Gather all the materials listed above. Package them neatly and securely to prevent any spills or damage during transport.
Create or print out a detailed instruction guide. This should include steps on layering the materials (pebbles, charcoal, soil), planting the plants, and adding decorative elements. Include tips on terrarium maintenance, like how often to water the plants and where to place the terrarium for optimal light.
If possible, organize the components in the order they will be used. For example, layer the pebbles, charcoal, and soil in separate, labeled bags or containers.
Presentation Tips:
Package the kit components beautifully, possibly in a wooden box or a basket, creating a visually appealing presentation that will excite your mom from the moment she sees it. Consider including a personalized note, suggesting that creating the terrarium could be a fun, shared activity to do together. For an extra touch, include a small watering spray bottle or a set of miniature terrarium tools.

As we wrap up our exploration of these thoughtful and budget-friendly DIY Mother’s Day gifts, let’s remember the underlying theme of our creations: showing appreciation and love for our mothers in personalized and meaningful ways. Each gift idea we’ve discussed is more than just an item; it’s a gesture of gratitude, a token of affection, and a reflection of the time and thought you’re willing to invest in making your mom feel cherished. From the tranquility of a homemade terrarium to the nostalgia of a family history book, these gifts are designed to touch the heart and create lasting memories.
In crafting these presents, we’re not just giving our moms something tangible. We’re offering them experiences, moments of joy, and expressions of our deepest sentiments. The beauty of DIY gifts lies in their uniqueness and the personal touch that each one carries, making this Mother’s Day not just special but truly unforgettable.
Now that you’re equipped with some unique and heartfelt DIY gift ideas for Mother’s Day, why not take another step toward thoughtful planning and organization? If you’re looking to simplify your life and bring more joy and health into your daily routine, I’ve got just the thing for you. Dive into my Beginner’s Guide to Simple and Effective Meal Planning, designed to help you streamline your meals, save time, and enjoy healthier eating habits. Get your free guide now and start your journey towards a happier, more organized kitchen!
Happy crafting, and here’s to making this Mother’s Day one to remember!
I would like to be transparent so that there are no misunderstandings. I may earn a small commission from any products linked in this post as an affiliate. This is not a sponsored post, and I was not asked to recommend these products. These are products that I genuinely love and want to share with my audience